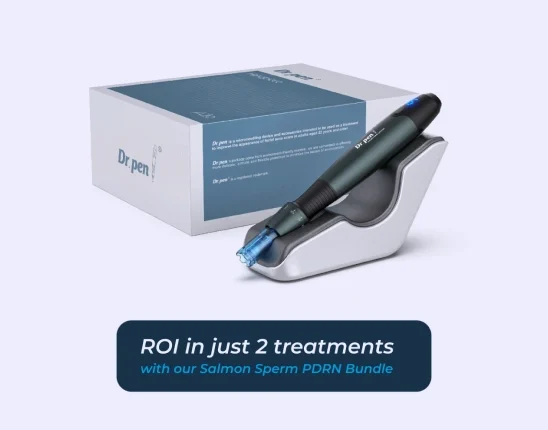
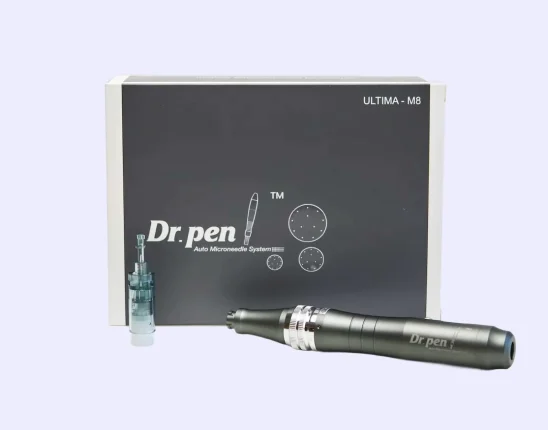
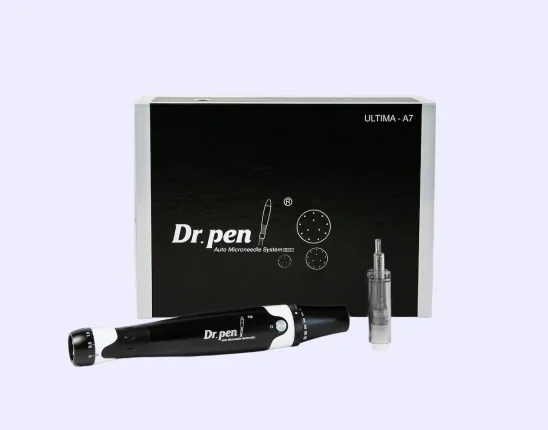
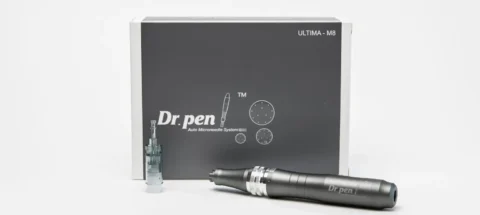
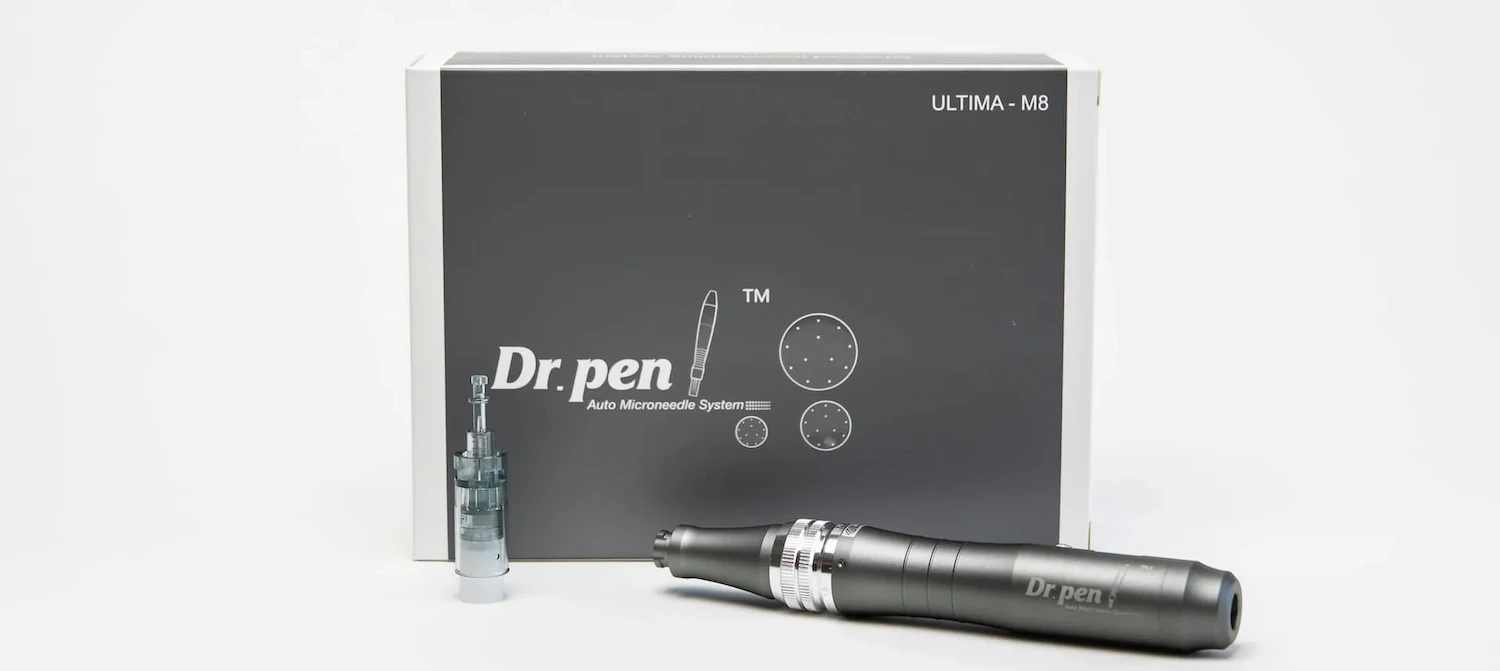
Acne scars are common skin conditions that are difficult to treat with simple skin care products. It usually takes months of trials and errors and regular applications to see visible improvements. If you’re looking for a better way to improve the appearance of facial acne scars, as well as the skin’s overall tone and texture, then professional microneedling devices like Dr. Pen might help you.
So how do you microneedle acne scars at home with Dr. Pen? It’s important to prepare the skin before the session, apply serums on the skin, glide the microneedling pen over the skin correctly, and clean the microneedling device properly after each use. Dr. Pen devices come with specific instructions to help patients with their at-home microneedling procedures safely.
Get Everything You Need for Your Microneedling Pen and More at 20% off Your First Order with Code “20OFF”!
The Microneedling Pen treatment requires only the best equipment to deliver treatments and results your patients will love. Get your best Microneedling Pen equipment and more at FACE Med Store today!
You can create an account here.
How Microneedling Erases Acne Scars
Microneedling is a minimally invasive skin rejuvenation procedure that works for a multitude of skin problems like wrinkles, sun spots, uneven skin tone, mild sagging skin, dark spots, and acne scars. Patients usually experience about 80% improvement in the appearance of atrophic acne scars on their skin after multiple treatment sessions of microneedling.
Unlike laser treatments, this non-surgical cosmetic procedure is safe for different skin types and tones. Microneedling therapy is also an ideal treatment for patients who want to try skin tightening without going through a surgical procedure.
During the procedure, a microneedling tool is applied to the skin to create micro-injuries on the outer layer of skin. These tiny wounds trigger the body’s natural healing process and production of new collagen and elastin – the important proteins that keep the skin firm, smooth, and even.
There are many types of scars, but microneedling works best for atrophic or depressed scars (boxcar scars, ice pick scars, and rolling scars) instead of raised scars (keloid and hypertrophic scars). This is because microneedling works by inducing collagen production in the skin. If the scar is already raised, then there’s already an overproduction of collagen in the target area.
An Easy Step-by-Step Guide to Microneedling at Home

Microneedling treatments are usually performed by a board-certified dermatologist or plastic surgeon inside their office. These skin rejuvenation procedures cost about $300 per session, which is why many patients opt for at-home microneedling kits instead. These DIY collagen induction therapy packages are a lot cheaper at about $100 per kit.
Although it’s possible to perform microneedling at home by yourself, it’s still important to follow the doctor and manufacturer’s instructions about how to use the device. This ensures that the patient gets the best results for their beautiful skin without having to worry about serious complications and side effects.
To help you get started here’s an easy guide on how to safely try microneedling at home:
1. Prep the Skin
- Avoid drinking alcohol and taking anti-inflammatory medications about 3 days before the microneedling procedure to help minimize bleeding.
- Cleanse the skin with a gentle cleanser of your choice to remove lotions, makeup, and other topical medications or products that might infect or irritate the skin. Tie all your hair to keep them away from the face throughout the procedure.
- Application of numbing cream is optional, but many patients prefer to do it to help manage discomfort during the treatment. Just make sure that it has at least 5% lidocaine content.
- Apply the numbing cream to the treatment areas and leave it for about 20 minutes.
- Remove the cream with 60% alcohol with water or 0.1 chlorhexidine. Make sure that the cream is thoroughly removed to prevent them from entering the microchannels created with microneedling.
2. Apply Serums on the Skin
- Patients may try microneedling even without serums, but these hydrating products help the device glide over the treatment areas smoothly.
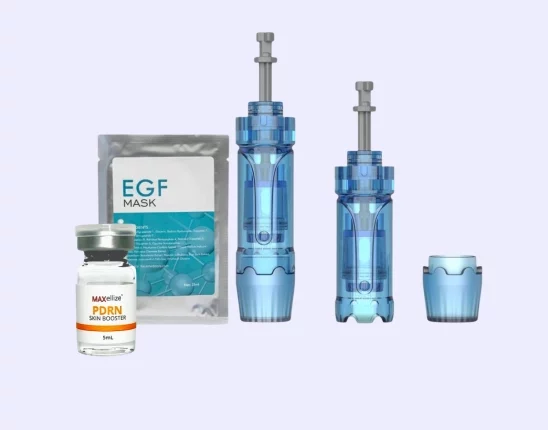
- Hyaluronic acid is one of the most commonly used serums for microneedling, but patients may also try using peptides, ceramides, and EGF.
- It’s best to avoid retinol, exfoliants, Vitamin C, and other brightening ingredients to avoid the risk of skin irritation.
3. Use the Microneedling Pen
- Make sure that the device is fully charged if you’re using a cordless Dr. Pen. Get near a power source if the device needs to be plugged in.
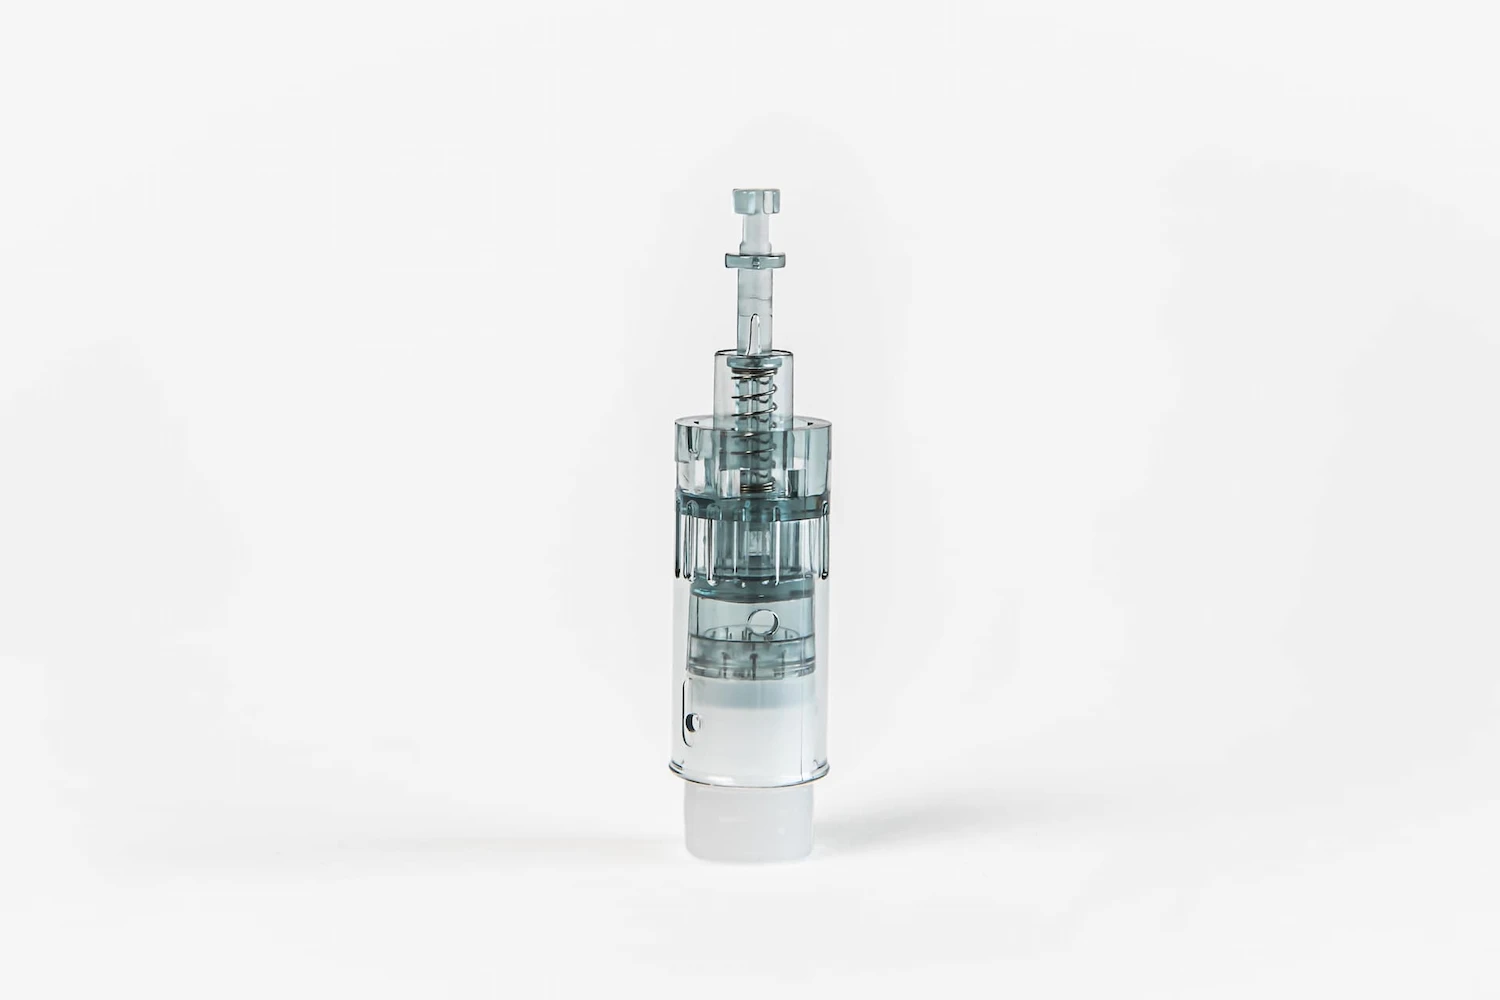
- Open a new pack of needle cartridges and carefully attach it to the device. Make sure that your hands are clean and they’re not touching the needles of the cartridge.
- Rotate the dial on the Dr. Pen and set it to the right needle depth.
- Apply a bit of the hydrating serum on the skin first right before gliding the Dr. Pen. Make sure to do this for every treatment area.
- Use the free hand to pull the skin taut when microneedling.
- Start moving the needles in vertical, horizontal, then diagonal patterns in both directions to achieve the best results.
- Work in small areas and grids to ensure that you’re covering all the treatment areas.
- Just put light pressure on the skin when using the Dr. Pen to avoid dragging. Repeat the motion twice per treatment area.
Get Everything You Need for Your Microneedling Pen and More at 20% off Your First Order with Code “20OFF”!
The Microneedling Pen treatment requires only the best equipment to deliver treatments and results your patients will love. Get your best Microneedling Pen equipment and more at FACE Med Store today!
You can create an account here.
4. Post-Microneedling Steps
- Wash your face with clean water, then apply the hyaluronic acid to the treatment areas to calm and hydrate the skin.
- Most patients experience swelling and redness, but this is normal. These symptoms should subside after a few hours or days.
- The cartridge should only be used once because reusing puts the patient at risk of infection, contamination, and irritation. Remember that cartridges aren’t to be shared even between family members.
5. Aftercare Instructions
- Wash the face with a gentle cleanser of your choice. Use a nourishing moisturizer to minimize peeling, flaking, bruising, and mild swelling.
- Avoid products that contain vitamin C, vitamin A, retinol, fragrances, AHA, BHA, and lactic acid. Toners and scrubs might also irritate so make sure to avoid them.
- Avoid sun exposure and strenuous activities for the first 24 hours. If you must head outdoors, make sure to use a high protection sunscreen.
Read More: How Soon Can You Use a Derma Roller on a Surgical Scar?
Other Important At-Home Microneedling Tips to Consider

- Needle cartridges come in different kinds with a different number of pins.
- It’s important to wait about 4 to 6 weeks before the next microneedling session at home. This allows the skin to heal properly and show visible results.
- Dr. Pen devices come with dials that allow users to adjust the depth of the needle (except Hydra Pro). The recommended needle depth for treatment areas for normal facial skin is about 0.25 mm to 1 mm. Thicker skin and other skin concerns might require a deeper reach for optimal results.
In-Clinic vs. At-Home Microneedling: Which is Better?
Microneedling is a popular skincare treatment done in a dermatologist’s office or at home with a reliable Microneedling Pen or derma roller. Although DIY microneedling kits are much cheaper than an office treatment for improving the appearance of skin, patients often experience less powerful results than they expected. There’s also the issue of the patient’s safety when performing microneedling treatments at home.
However, patients may still see significant improvements in their acne scars and overall skin tone once they follow the doctor’s or manufacturer’s instructions when using the microneedling device at home. DIY microneedling isn’t as uncomfortable as professional treatments because they don’t reach too deeply into the skin. This results in less trauma and quicker healing time.
Get Your Dr. Pen Curated Kits at FACE Med Store
At-home microneedling is a great alternative to in-office skin rejuvenation treatments if you’re too busy or not ready for those yet. Just make sure to buy the Microneedling Pen from a known manufacturer like Dr. Pen to ensure the product’s safety and quality.
Take the first step to acne-free, clear skin by buying authentic Dr. Pen microneedling kits here at FACE Med Store today. Check out our site now to find a list of available Dr. Pen kits.
Read More: Instructions on How to Use a Dr Pen
